Pages

Thursday, February 20, 2014

Bow With and Without Ribbon

The bow is not nearly as easy as the doll. I got stuck often and cut the wrong things (which is how I found out how to make it without the ribbons.) So don't worry if this is a little tricky! Feel free to put chop sticks, a flower, or other decoration in her hair if the bow is too difficult or if the tutorial is hard to follow!


1). First, flip your paper over so the design is on the back. Fold it horizontal, vertical and on both corners.

2). Next, squish in the corners and fold it into a square. Turn the paper so the open part is on the bottom.


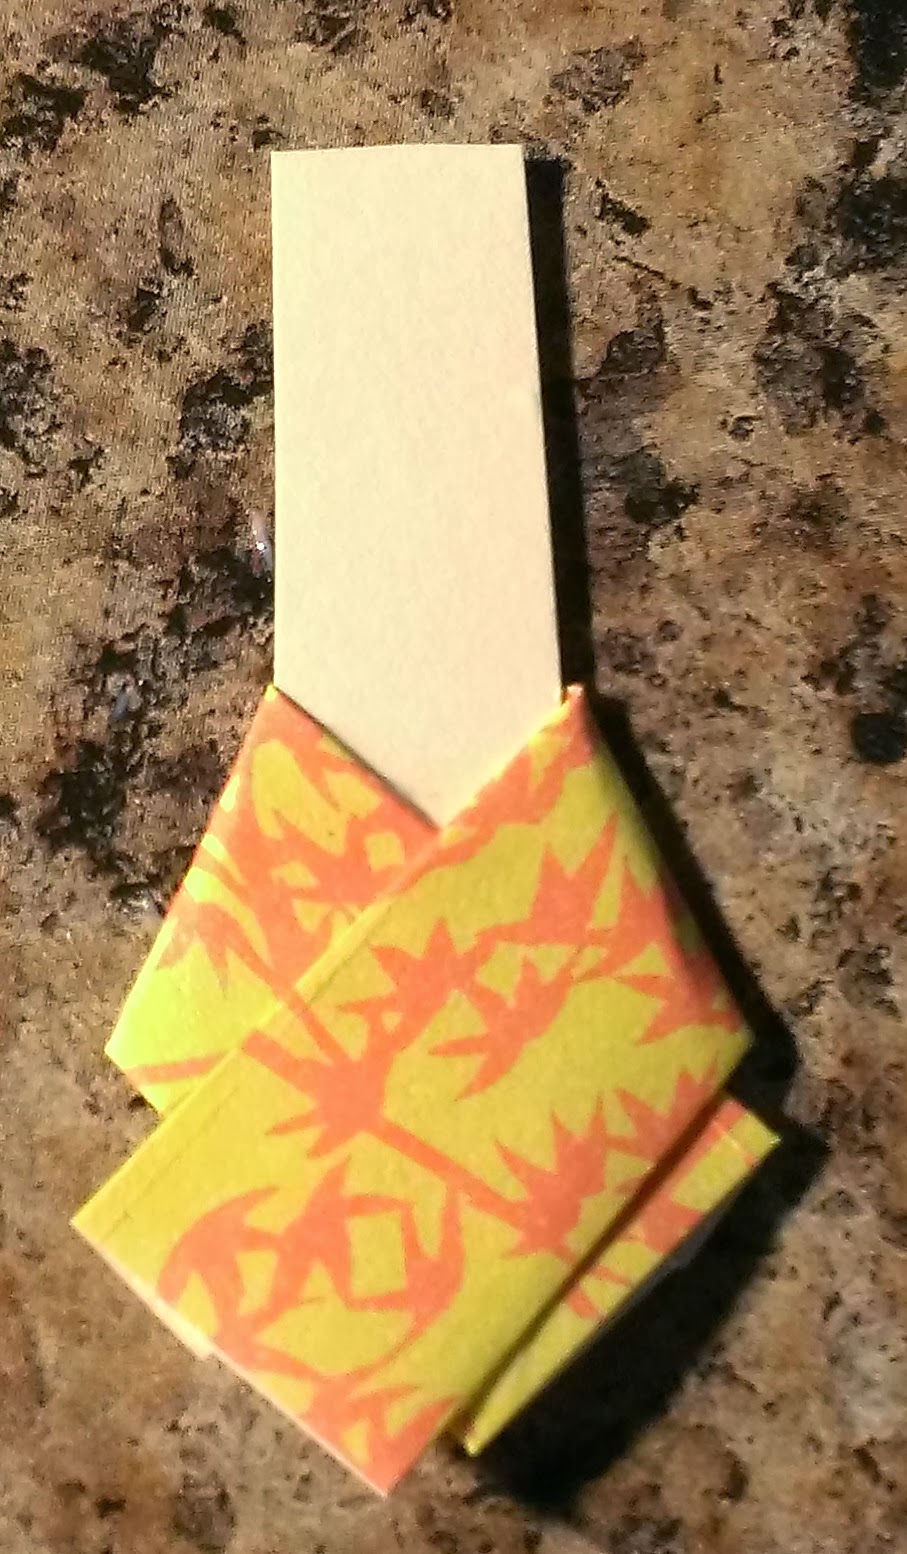
 3). Fold the top down a little bit, again, no exact amount.

4). Unfold all your hard work and there should be square in the middle!
(I apologize in advance for this part. It is tricky and I spent a good ten minutes on it.)


5). Make mountain folds with the center square, meaning, pinch them up so they are creased.

6).Next, push in the sides and push the inner square down. This is also tricky, so keep at it!


 7). Fold the top sides down, like so. Repeat on all each side, front and back (4 folds in total)


8). Open it from the inside, push the center like a button so it flattens and now it is starting to look like a bow!

From this point, it is the same for both the bow with ribbons and the bow without ribbons. The only difference between the two is four easy cuts, which I will explain.

I will start with the bow with ribbons.


9). Cut along the dotted line in the picture to the right. This will make two little wings, as shown on the left.


 10) Fold the sides in, to make the inside of the bow, pointy. Do that on both sides.

11). These folds do not have to be exact. Make an angled fold on the inside, and an angled fold on the outside.


12) Flip it over. Cut the ribbons with scissors any way you'd like, I did points.

13). Fold the ends of the bow in to the center and tuck them under. Now you are all finished!


Without the Bottom Ribbon


The bow without ribbons is simple (if you could make the one with ribbons.) Here is the only difference:

Start from step 8.
Lift up one of the flaps and cut the crease under it, the dotted line I indicated.
Completely cut out that square.
Repeat on the left hand side as well.

To finish, repeat the steps through 13. Disregard the bottom ribbons (since you won't have any!)

Your bow should look like this:


These cute little dolls are called Washi Ningyo (和紙人形). Washi, meaning paper (usually colorful), and ningyo is a doll or puppet. These dolls make great book marks, gift tags, or ornaments. They are fun to make and look good in any color. I can't stop making them!

So in my last post I made those cute little paper dolls! Now I am going to show you just how I made them! This is my first tutorial, so let me know if there is anything I can do to make it more clear. I will also show you how to make the bow with and without ribbons.
The one we will be making is the brown and yellow one!

Washi Ningyo


You will need:
4 Sheets of origami paper. (2 Different kinds)
Scissors
Black paper for hair
White paper for the head and neck


1). First take one sheet of origami paper and cut it in half. This will be used for the obi and the collar.

2). Then fold it in, like so, this makes it stronger and more 3D.


3). Next, take the neck rectangle and wrap one of the pieces we just folded around it, like a collar. I just sorta guess and eyeball sizes/measurements.


4). Take the other color of paper and fold the top down about a quarter way, not to the center.

5). Next, flip it over and fold the top down, half way from the fold we did on the other side.


6). Wrap the paper around the collar so it is parallel.

7). Next, you make a fold so that the bottom is lined up. There were be a tiny triangle just above the fold. (This is tricky! But it doesn't have to be exact on both sides since the obi will cover it.

8). Repeat on other side. Use glue to hold things down.

9). Next step, wrap the obi around the kimono and your doll should look something like this! 


10). For the sleeves, use the other piece of origami paper (Either color looks fine to me, so I used the color for the collar and obi, but on my other dolls I used the color of the kimono, I guess that makes more sense.)

11). Repeat the first two steps. (You will have a scrap piece.)

12). Wrap the piece around the body, like a shawl, and glue down.


 13). Now for the head! You can make any hair styles you like. I am going to make a bun.

14). Use the black paper and cut out bangs. Don't worry about the back of the head, as no one will look at the back.

15). Just cut a oval shape for the bun and glue it to the back of the head.


 16). Don't forget a cute smile!


Here is your completed paper doll!


Wednesday, February 19, 2014


28 days until take off. So aside from listening to Japanese language audio books, I decided to do some crafting! On the right I made myself a little bookmark with my name on it. Then after I made the first little doll, I made a few more! Each is clearly better than the first!

The book is a way for me to start getting into the history of Japan without cold hard dates and memorization. It contains short stories and background information for the stories! So I do get a history lesson, as well as a culture lesson while reading interesting stories!

I'll post a tutorial on how to make these cute little dolls in my next post!

Monday, February 10, 2014

Globalinks sent me some cool and useful things! Most importantly, a passport case. It's big enough to put money, cards, my passport and other things in it. I think it's pretty cool looking!

They also sent three luggage tags which can go on my neat-o luggage (a few posts back). Lastly they sent a poster which can go in the bottom of my luggage for when I get to Japan. I'll use it like a flag and take pictures with it!

Saturday, February 8, 2014

Here is the actual camera! I was worried about power and steadiness the most. This camera (Cannon Power Shot SX510 HS) was in a bundle that came with the case, an extra battery pack, the charger (of course) and the memory card.

I am still learning how to use it, but it isn't too big or too small, takes steady pictures despite my shaking hands (maybe should lay off the coffee) and doesn't seem overly complicated. I look forward to taking many pictures and holding onto many memories with this little guy!

Thursday, February 6, 2014

I bought this cute little camera today. It's a Fujiflim Instax 7s. It's an instant camera! It prints wallet sized photos. Probably the cutest thing I've ever seen. The film can be a little expensive, but I think it's worth it. For the price, it is perfect. I can't wait to use it!

I'll be picking up a nice digital camera as well.  But I haven't decided which kind.