
These cute little dolls are called Washi Ningyo (和紙人形). Washi, meaning paper (usually colorful), and ningyo is a doll or puppet. These dolls make great book marks, gift tags, or ornaments. They are fun to make and look good in any color. I can't stop making them!
So in my last post I made those cute little paper dolls! Now I am going to show you just how I made them! This is my first tutorial, so let me know if there is anything I can do to make it more clear. I will also show you how to make the bow with and without ribbons.
The one we will be making is the brown and yellow one!
The one we will be making is the brown and yellow one!
Washi Ningyo

You will need:
4 Sheets of origami paper. (2 Different kinds)
Scissors
Black paper for hair
White paper for the head and neck

 1). First take one sheet of origami paper and cut it in half. This will be used for the obi and the collar.
2). Then fold it in, like so, this makes it stronger and more 3D.
3). Next, take the neck rectangle and wrap one of the pieces we just folded around it, like a collar. I just sorta guess and eyeball sizes/measurements.
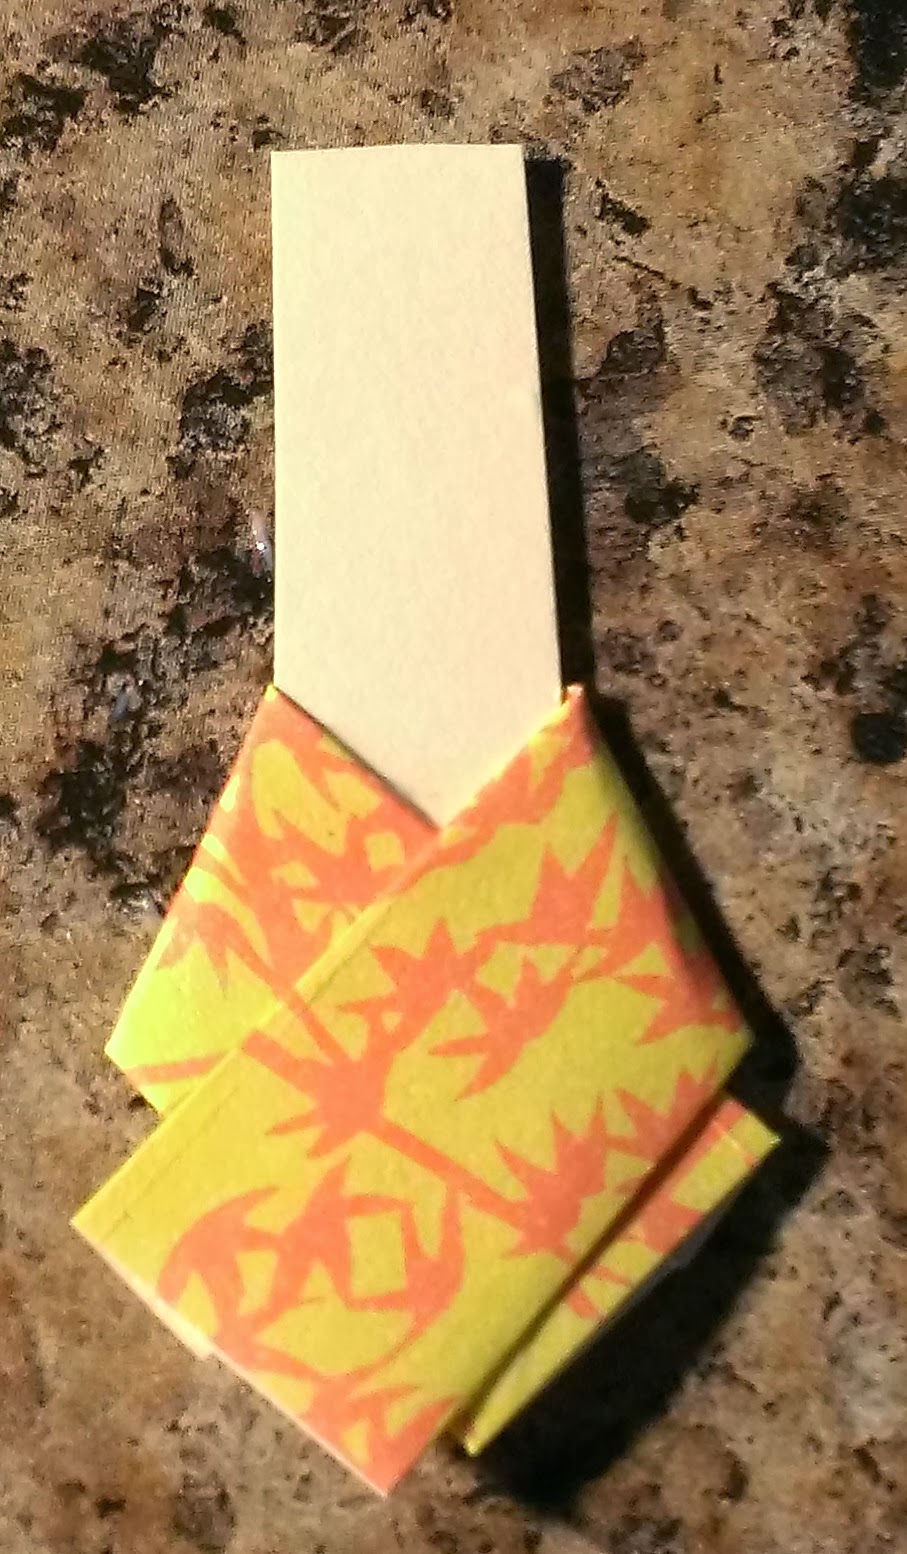

 4). Take the other color of paper and fold the top down about a quarter way, not to the center.
5). Next, flip it over and fold the top down, half way from the fold we did on the other side.


6). Wrap the paper around the collar so it is parallel.
7). Next, you make a fold so that the bottom is lined up. There were be a tiny triangle just above the fold. (This is tricky! But it doesn't have to be exact on both sides since the obi will cover it.
8). Repeat on other side. Use glue to hold things down.
9). Next step, wrap the obi around the kimono and your doll should look something like this!


 10). For the sleeves, use the other piece of origami paper (Either color looks fine to me, so I used the color for the collar and obi, but on my other dolls I used the color of the kimono, I guess that makes more sense.)
11). Repeat the first two steps. (You will have a scrap piece.)
12). Wrap the piece around the body, like a shawl, and glue down.

 13). Now for the head! You can make any hair styles you like. I am going to make a bun.
14). Use the black paper and cut out bangs. Don't worry about the back of the head, as no one will look at the back.
15). Just cut a oval shape for the bun and glue it to the back of the head.


16). Don't forget a cute smile!
Here is your completed paper doll!


3 comments:
Soooo Cute...
and a good how to...
Now you make one! :)
This should go on Pinterest.
Post a Comment